Friday, July 29, 2011

Caribbean Jerk Chicken Pizza!

Hellllllo, everybody! So, as you may or may not know, every February my family and I go back to my brothers homeland: the caribbean. Well, he wishes. However, we really do go and his absolute favorite thing besides the conch fritters is the jerk chicken. Jerked chicken is just chicken that has been extremely seasoned in a bunch of different herbs and spices. So, this year, a few months after we got back from vacation, Mike and I decided we were going to make our own pizza one day. Rather than typical cheese or pepperoni, we decided to venture out of our comfort zones and try something new. Alas, caribbean jerk chicken pizza was born, and has held its spot as Mike's favorite food, and a staple in his diet, since. Here we go! 

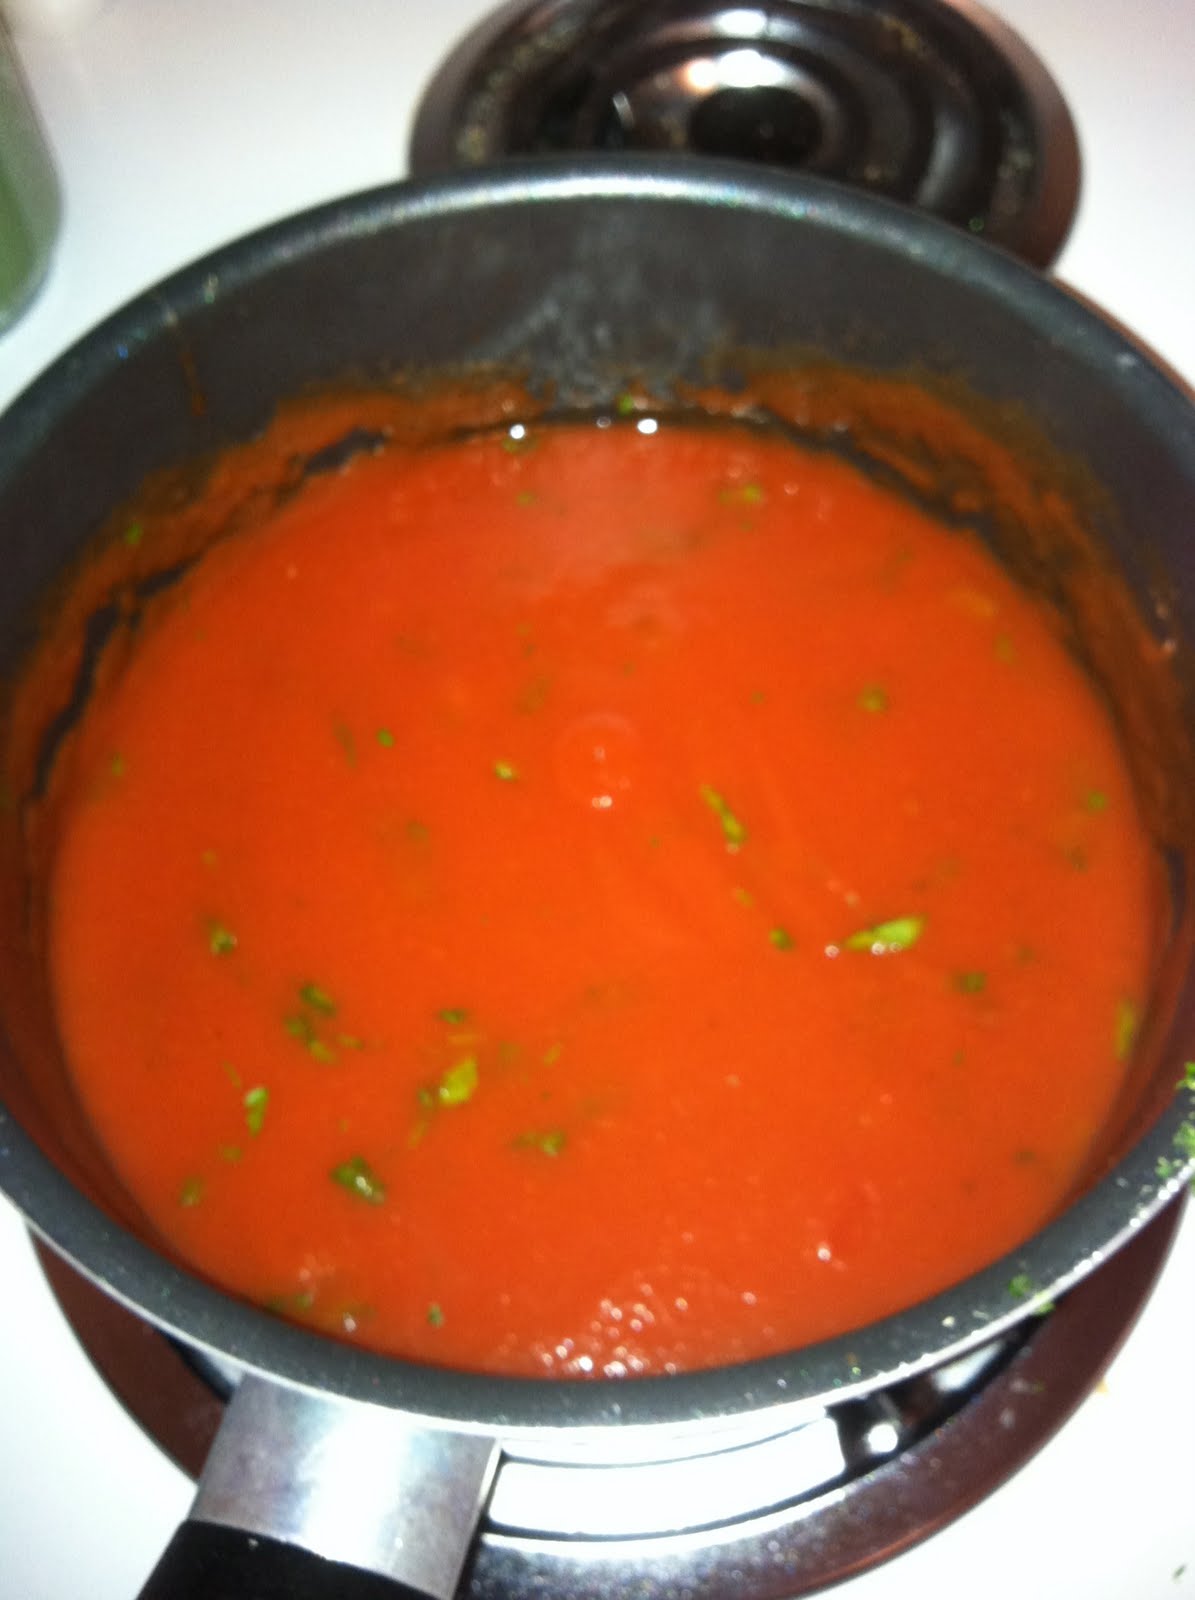
First, we're going to start with the sauce. I chose to make a home made sauce, but if you'd like to use pre-made, feel free. I used a can of the hunt's plain sauce and added my own seasonings and herbs. Minced garlic, onion powder, bay leaves, scallions, and fresh cut parsley should get the job done. Let this simmer for about an hour so that the flavors can all be absorbed by the sauce. Below, I show you a simple way to crush garlic rather than just putting minced garlic in, the oils come out more when it's crushed and it becomes way more flavorful. All you have to do is mince the garlic, then sprinke some sea salt on it, which will add traction as you're dragging your knife through the minced garlic. 


While the sauce is simmering, you'll want to work on chopping up all your toppings. Above is some orange bell peppers. I find that using a santoku knife is best for this dish becauce it is so univeral that you'll be able to use it on all of the toppings except the chicken. 

Chop up some red onions next. In the video below, I show you a quick way to chop up onions into a uniform size. Simply chop on side off just enough so that it can rest flat on the cutting board. Then, slice it vertically, but not all the way through so that it is still held together. Then, slice it horizontally, but once again not all the way through. Then you can just slice it and it will be a dice. Hopefully the video below helps you understand more.


Next, the mango. A lot of people actually arent sure what to do with a mango, what parts are edible, and how to cut it. So, I figured id film a video of me cutting it just for reference.


Finish chopping your tomatoes, and dicing up your sun dried tomatoes. Then, you want to filet your chicken breasts and slice them into thin strips. I find that a paring knife works best for this. I then decided to sauté them in order to ensure that they would be fully cooked since the heat from a grill comes from the bottom rather than a convection oven in which the heat is coming from both the top and the bottom. Also, the juices that come out of the chicken will help the jerk seasonings adhere to it.

 
And now, onto the jerk seasoning. Its a blend of thyme, a little bit of sugar, pepper, a little bit of salt, nutmeg, all spice, paprika, cayenne and garlic powder. About a teaspoon to a tablespoon or two of each depending on the potency of the spice.

Once you have all of your toppings laid out, and the chicken has been fileted and mixed with some jerk seasoning, you can start stretching out your pizza dough.

I reccomend using cornmeal rather than flour when rolling out your dough because it doesn't dry it out as much, and when you cook it, you dont get that chalky taste that cooked flour can sometimes cause.

Once it's all rolled out if should look something like this. I smoothed it out a little more before putting it on the grill, but you get the gist of it.

Next, place the rolled out dough on the hot grill and start to assemble your pizza. This makes it so much easier than having to assemble it on a cookie sheet and slide it off onto the grill.

Then, you want to close the lid of the grill and let it cook for 10 to 15 minutes.

When its done, it should look something like this. If you try it out, comment below and let me know how you like it!

Until next time,
K

Saturday, July 16, 2011

Scratch That Lasagna!


helllllllo my lovely readers! Back with a new post today on home made, almost everything from scratch, lasagna! Although I was able to make the sauce about as home made as it gets, I unfortunately forgot my pasta maker at my other house, so I was stuck buying pre-made lasagna noodles. Anybody who knows me, knows that I am absolutely, ridiculously obsessed with spaghetti-or any pasta for that matter. The only time I ever use boxed pasta though, is when I am making it for myself. Other than that, I get out the semolina, put a little elbow grease into it, and make my own dough and roll it out in my pasta maker, but hey- thats another post. I figured to make up for my nonexistent home made noodle sheets, I should at least take the time to make my own sauce. Therefore, I went out, bought a bunch of tomatoes, and got down to business. Hope you enjoy it! 

First, we're going to start with the sauce since it will need to simmer for a long time. Take a pound of hamburger and brown it up in a medium to large saucepan. Leave all of the juices and grease that comes out of it in the pan. DO NOT DRAIN IT. It may sound gross, but trust me, compared to all of the preservatives and fake chemicals in canned sauce, this is nothing. Plus it will add a ton of flavor that you'll need. 

Then, you want to chop up a medium onion, not quite a dice, but a smaller chop, and add it into the pot. Sweat the onions in the same pot as the hamburger until they become tender and slightly translucent.

Once the onions are translucent, add about 3 cloves of garlic, 4 if they're small, and stir it all together. Let this cook into the meat and onion mixture for another 5 minutes or so. The onions should be almost fully translucent now. However, if they arent, dont hold off on adding the next ingredients until they become translucent because by now, the garlics oils have been released, and you could run the risk of burning the garlic. 

Now, for the aeromatics. I used 4 basil leaves from my garden. They are very large, so if you have smaller ones, use about 6 or 7. I know it seems that we are adding alot of garlic and basil but think about how bland a simmered down tomato would be. We need to add flavor, and aeromatics and garlic are the simplest way. Chop up some parsley and throw that in there, too. I used about 2 or 3 tablespoons.


Quick tip on chopping up basil, if you roll it up, then julienne it, then just do the same vertically, it is way easier to get a more uniform size cut. Hopefully you'll get more of an idea from the video above.

It should look something like this once youve chopped it all up. So, add that to the pot, and let it cook down and release all of its flavors.

Then, you want to take the stems out of about 8 tomatoes. I chose beefsteak because they have way less seeds than most other types of tomatoes, but if you have a garden and would like to use some of those, go for it.

Next, you want to add the tomatoes to a pot of boiling water. Let them cook in there for a few minutes.

When the skin is cracking like this, you know they are ready to be removed. Some might take longer than others, it just means that the ones that are done first are mature, which in turn gives them a thinner skin. 

Once they are done, scoop them right out of the pot of water into an ice bath. This process is called blanching. The reason you are putting them in the ice bath is to immediately stop the cooking process. If you were to just take them out of the boiling water, they would continue to cook once they were removed. However, this way, the tomatoes will reach and equilibrium between the temperature of the boiling hot water, and the ice cold water bath, and should come out to about room temperature. 

Once they are cool enough to handle, simply take the cracks that the boiling water had caused, and peel the skins off of the tomatoes. Once you have skinned all of them, add them into the pot of hamburg, onions, and garlic. Let them cook down and simmer for a couple hours. If you have a potato masher, you can use that to speed up the process if you'd like. This will just help the tomatoes break down at a quicker rate. You'll still have to it simmer down for a while though.

Once it has been cooking and simmering down for a couple of hours, it should look something like the picture above. If not, take the back of your spoon to crush the tomatoes, to emit more juices and speed up the process, and just let it simmer for longer. If it is a little bit more liquid-y than you think it should be, just simmer it down longer and it will eventually thicken up. Make sure you aren't simmering it covered though, because then all of the evaporation leaving the pot, which will thicken it, is just going to get caught on the lid and drip back in and make it even more liquidy. Low and slow is the best method here. 

While that is simmering, you want to mix together ricotta cheese, mozzarella cheese, an egg, and some parmesan cheese. Mix that all together, and set it aside until its time to prepare the actual lasagna. 

Once you feel that your sauce is at a good enough consistency to put the lasagna together, boil your noodles. 

Put a little big of sauce in the bottom of your dish; just enough to keep the noodles from sticking when it is baking. Then, layer noodles on top of the sauce.

After you have placed your noodles down, spread some of the ricotta mixture on top of the noodles. Then more sauce, more noodles, and more ricotta. Keep repeating this process until your dish is filled.

Once it is almost filled to the brim, it should look something like this.

Then, you want to sprinkle about a cup and a half of mozarella cheese on top the of the lasagna, and about a cup of parmesan cheese. Then, bake it at 325 degrees, covered with aluminum foil for about 40 minutes. After the fourty minutes is up, you want to remove the tin foil, and bake it for about 15 to 20 more minutes. After youve finished cooking it, remove it from the oven and let it sit for about 10 minutes. This way it will cool off a little bit, which will help it get alittle bit firmer, so its easier for you to get a piece out of the dish.

Serve it up on some plates with a side salad, and maybe some crusty italian bread and you're good to go. If you try this, let me know how you like it! Also, let me know int he comments how you like having videos inserted in along with the regular blog entry. It's fairly simple to do, so if you like having them there, I definitely dont have a problem putting a couple in per post.

Until next time,
K


Monday, July 4, 2011

Summer Series: Your Fourth of July Fix!

Hey, everybody! First off, happy fourth of July! This is definitely one of my favorite holidays, so what a great day to start a new summer series! In addition to posting recipies this summer, I have decided to start a new summer series to give my readers ideas for good summer meals that you'll probably know how to make, but will just help freshen your memory with ideas that you probably wouldn't have though of, and that will be a nice change from the typical hot dogs and hamburgers. There will be 3 parts to each entry of this series.

One- A dish that you would not think of right away, but is very convienent to make for the summer months, cookout or not.

Two- A "Rain Check" situation. This part of the entry will consist of an alternative way of preperation, without sacrificing any flavor.

Third- A way to fix the dish incase you burn it or something. This will be a way to not sacrifice the whole meal, for a small issue. This will especially come in handy if you are having a cookout with a lot of guests.


So today: Fourth of July foods!

First on the list: Grilled Chicken Legs

A: I feel like when most people think of chicken, depending on their age, they either think of it in nugget form, or in the form of a grilled chicken breast. However, there are so many more things that you can do with chicken than what first comes to mind. Its such a simple meal, and for entertaining a large group of people, especially if you're having some sort of cookout, its extremely cost effective. This is because this cut mainly consists of dark, and less tender pieces of meat, therefore bringing the price down from the more expensive all tender white meat chicken breast. All you have to do is sprinkle this with a little bit of seasoned salt, or your own mix of herbs and spices, and cook it on medium heat. Make sure you cook them skin side up, especially at the beginning. You do this beacuse since the skin is essentially just fat in the sense of the purpose that it serves, and chicken is a very lean meat, as the juices come out of the skin, they will drip onto the chicken legs before they hit the drip pan, rather than just straight into the drip pan. This way the chicken legs will be basted all throughout the cooking process. Anyway, these are great because you can serve them either hot, or cold, meaning that if most of your dishes are based off of the grill that day, you can make them ahead of time and not have to worry about heating them up.

B: "Rain Check" If you don't have a grill, or would rather choose to serve them hot and have too many other foods on the grill, you can also bake them. However, I wouldn't recommend using a seasoning if you're going to bake this. Some type of breadcrumbs, such as "Shake 'n Bake" will work great for them. You can also serve them cold if you choose to prepare them this way. However, I prefer them served hot when they have been made this way.

C: Finally, I know that during the summer, people tend to be busier than usual. The great thing about chicken legs, is if you get carried away during a cookout preapring other foods, every single leg you buy will have the skin still intact, so if you happen to accidently burn them, the skin will be the first thing to burn. Therefore, if you burn them, simply peel the skin off, season the meat, and flip it so that the new seasonings cook into the meat in which they have been sprinkled on. Problem solved, and nobody will ever notice.

Until next time,
K